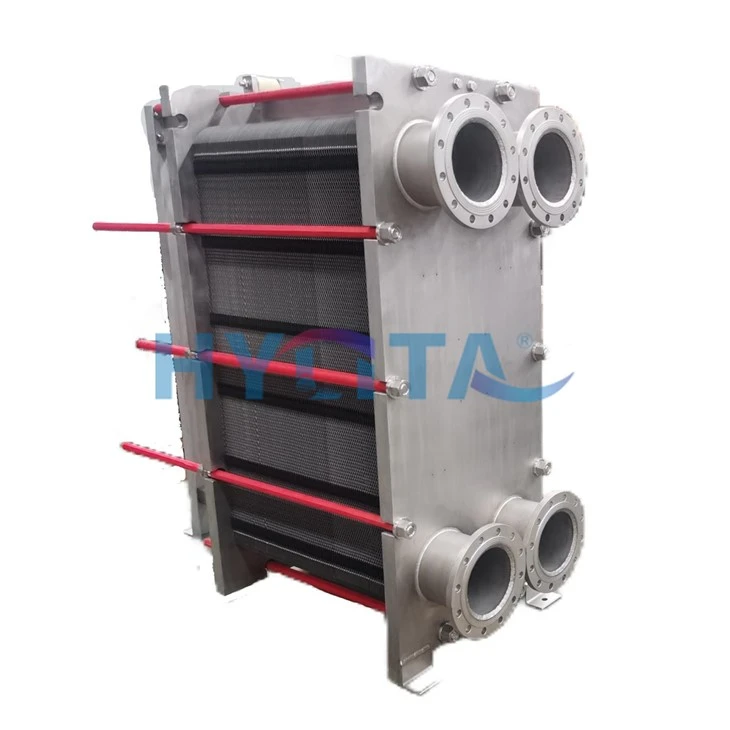
Hey there! As a supplier of plate heat exchangers, I've seen my fair share of maintenance tasks. One of the most crucial steps in maintaining a plate heat exchanger is disassembling it properly. In this blog post, I'll walk you through the process of disassembling a plate heat exchanger for maintenance.
Why Disassemble a Plate Heat Exchanger?
Before we dive into the disassembly process, let's quickly talk about why you might need to disassemble your plate heat exchanger. Over time, these heat exchangers can accumulate dirt, scale, and other debris, which can reduce their efficiency. Disassembling the heat exchanger allows you to clean the plates thoroughly, inspect for any damage, and replace worn-out gaskets. This not only improves the performance of the heat exchanger but also extends its lifespan.

Tools You'll Need
To disassemble a plate heat exchanger, you'll need a few tools. Here's a list of what you'll typically need:
- Wrenches: You'll need wrenches to loosen the bolts that hold the heat exchanger together. Make sure you have the right size wrenches for the bolts on your specific heat exchanger.
- Screwdrivers: You may need screwdrivers to remove any covers or access panels on the heat exchanger.
- Gasket removal tool: A gasket removal tool can make it easier to remove the gaskets from the plates without damaging them.
- Cleaning supplies: You'll need cleaning supplies such as a brush, detergent, and water to clean the plates after disassembly.
Disassembly Steps
Now that you have your tools ready, let's get started with the disassembly process. Here are the steps you'll need to follow:
Step 1: Shut Down the System
Before you start disassembling the heat exchanger, make sure the system is shut down and all power is turned off. This will prevent any accidents or injuries during the disassembly process.
Step 2: Drain the Fluids
Next, you'll need to drain the fluids from the heat exchanger. This can be done by opening the drain valves on the heat exchanger and allowing the fluids to drain into a suitable container. Make sure you follow all safety procedures when handling the fluids, as they may be hot or contain hazardous chemicals.
Step 3: Remove the Bolts
Once the fluids have been drained, you can start removing the bolts that hold the heat exchanger together. Use the appropriate wrenches to loosen the bolts, starting from the corners and working your way around the heat exchanger. Be careful not to drop the bolts, as they can be difficult to find.
Step 4: Separate the Plates
After the bolts have been removed, you can start separating the plates. Gently pull the plates apart, being careful not to damage the gaskets or the plates themselves. If the plates are stuck together, you can use a gasket removal tool to help separate them.
Step 5: Remove the Gaskets
Once the plates are separated, you can remove the gaskets from the plates. Use a gasket removal tool to carefully pry the gaskets off the plates. Make sure you remove all the gasket material from the plates, as any remaining gasket material can cause leaks when the heat exchanger is reassembled.
Step 6: Clean the Plates
After the gaskets have been removed, you can clean the plates. Use a brush and a suitable detergent to clean the plates thoroughly, removing any dirt, scale, or other debris. Rinse the plates with water to remove any remaining detergent.
Step 7: Inspect the Plates
Once the plates are clean, you can inspect them for any damage. Look for any cracks, scratches, or other signs of wear and tear. If you find any damaged plates, you'll need to replace them before reassembling the heat exchanger.
Step 8: Replace the Gaskets
After the plates have been inspected, you can replace the gaskets. Make sure you use the correct gaskets for your specific heat exchanger. Apply a thin layer of gasket sealant to the gasket grooves on the plates, and then carefully place the gaskets in the grooves.
Step 9: Reassemble the Heat Exchanger
Once the gaskets have been replaced, you can reassemble the heat exchanger. Place the plates back together, making sure the gaskets are properly aligned. Tighten the bolts evenly, starting from the corners and working your way around the heat exchanger. Make sure you don't over-tighten the bolts, as this can damage the plates or the gaskets.
Step 10: Test the Heat Exchanger
After the heat exchanger has been reassembled, you can test it to make sure it's working properly. Fill the heat exchanger with fluids, and then turn on the system. Check for any leaks or other problems, and make any necessary adjustments.
Tips for Disassembling a Plate Heat Exchanger
Here are a few tips to help you disassemble a plate heat exchanger safely and effectively:
- Follow the manufacturer's instructions: Make sure you follow the manufacturer's instructions for disassembling and reassembling the heat exchanger. This will ensure that you do it correctly and avoid any damage to the heat exchanger.
- Use the right tools: Make sure you use the right tools for the job. Using the wrong tools can damage the heat exchanger or make the disassembly process more difficult.
- Be careful when handling the plates: The plates in a plate heat exchanger are delicate and can be easily damaged. Be careful when handling the plates, and avoid dropping them or hitting them against hard surfaces.
- Clean the plates thoroughly: Cleaning the plates thoroughly is essential for maintaining the performance of the heat exchanger. Make sure you use a suitable detergent and a brush to clean the plates, and rinse them thoroughly with water.
- Inspect the gaskets: The gaskets in a plate heat exchanger are an important part of the system. Make sure you inspect the gaskets for any damage or wear and tear, and replace them if necessary.
Conclusion
Disassembling a plate heat exchanger for maintenance is an important task that can help improve the performance and lifespan of the heat exchanger. By following the steps outlined in this blog post and using the right tools and techniques, you can disassemble your plate heat exchanger safely and effectively. If you have any questions or need further assistance, don't hesitate to contact us. We're here to help you keep your plate heat exchanger in top condition.
If you're in the market for a new plate heat exchanger, we offer a wide range of options, including Titanium Plate Heat Exchanger, Titanium Gasket Plate Heat Exchanger, and Food Grade Heat Exchanger. Contact us today to learn more about our products and how we can help you meet your heat exchanger needs.
References
- Plate Heat Exchanger Maintenance Manuals
- Industry Best Practices for Plate Heat Exchanger Disassembly and Assembly